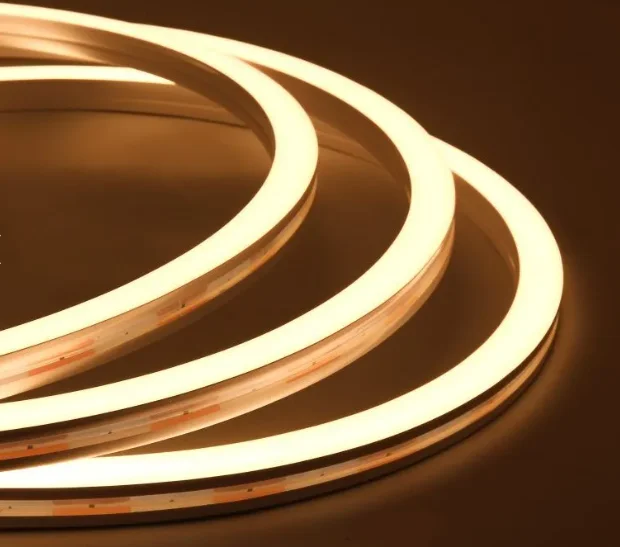
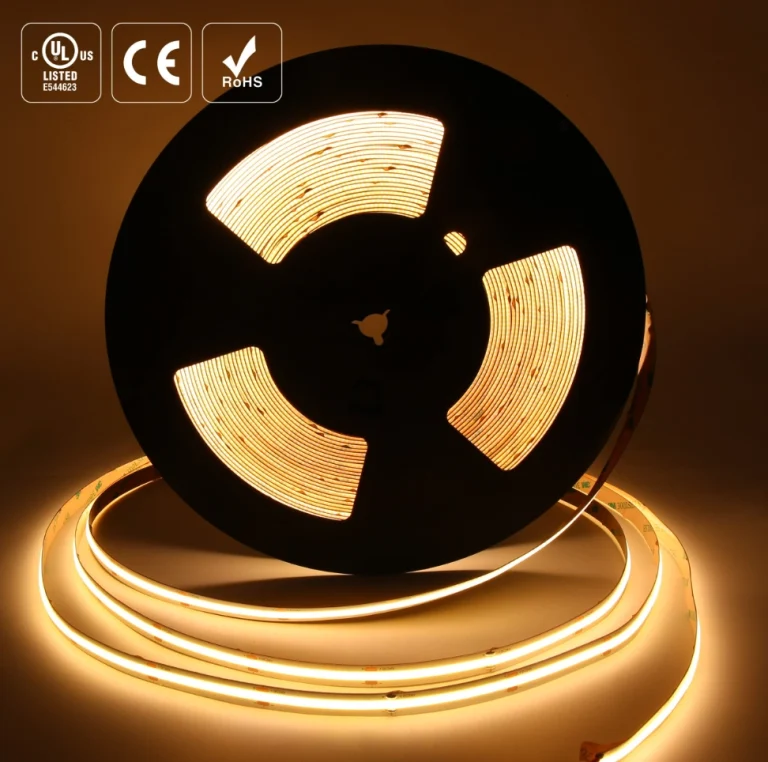
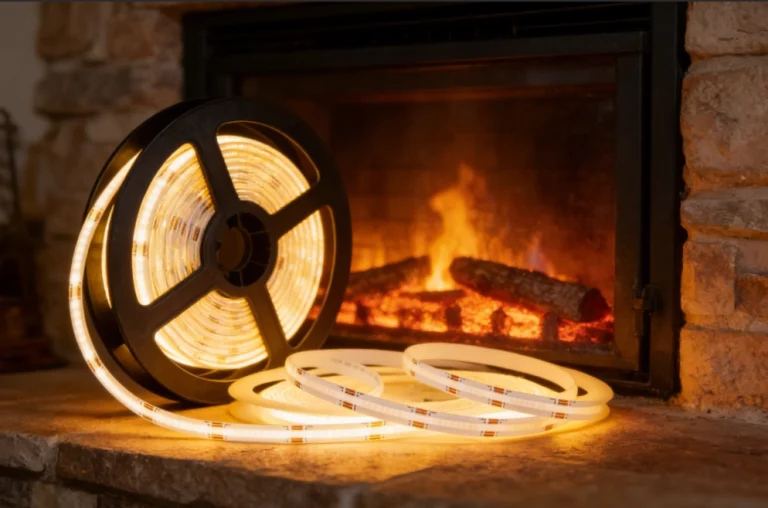
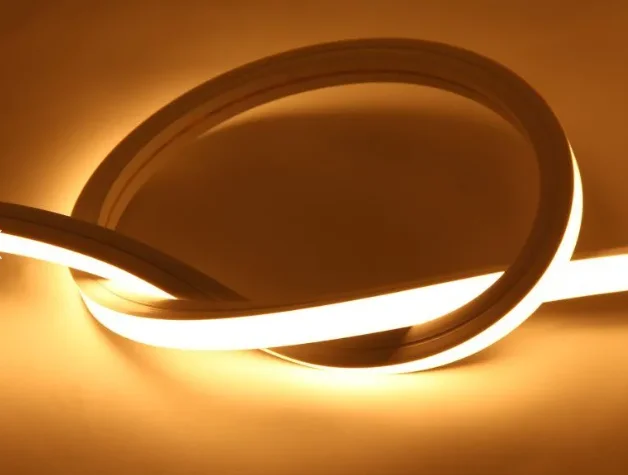
LED neon lights are super popular these days. They’re bendy, tough, and save energy. You can use them for all kinds of projects. Like lighting up a building’s edges. Or making cool signs. Or adding a fancy touch to your home. One awesome thing about these lights is how bendy they are. You can make smooth curves and neat shapes. But bending LED neon strips just right can be tricky if you don’t know how. In this guide, we’ll show you the best ways to bend LED neon lights. You’ll get nice curves for your lighting projects.
Why Proper Bending of LED Neon Lights is Crucial
LED neon lights are really handy. They work for all sorts of projects. From simple lights to big designs in stores or homes. But to make them look good, you need to bend them the right way.
If you bend them wrong, you might break the strip. Or get uneven light. Or even make the lights stop working. Whether you’re using flexible LED neon strips for a store’s glow or making a custom sign for your shop, getting the curves right is a big deal. If you bend too hard, the wires inside can snap. That leads to flickering lights. Or no light at all.
But when you bend them right, you open up tons of fun ideas. You can make smooth, flowing lines that make any space look better. It’s not just about the lights working. It’s about being creative. From curvy walls to cool patterns, you can do so much.
Understanding the Types of LED Neon Strips and Their Bending Capabilities
Before you start bending, you need to know about the types of LED neon lights. And how bendy they are.
Side Bend vs. Top Bend Neon Lights
LED neon lights come in two main kinds: side-bend and top-bend. Side-bend lights are good for horizontal curves. Top-bend ones work better for up-and-down bends.
Side Bend Neon: These are super bendy. They’re easy to shape side to side. Great for signs or flat surfaces that curve a little.
Top Bend Neon: These are a bit stiffer. But they’re good for vertical bends. You might use them for signs or wall designs.
Picking the right kind of LED neon light is the first step. If you want sharp corners or tight spots, make sure you have a strip that can handle those bends. For example, RAYMATES side-bend neon is great for curvy signs.
Factors Affecting Bending Radius
The bending radius is how tight you can curve the light without breaking it. A few things affect this:
LED Density: Strips with lots of LEDs are less bendy. They need bigger curves.
PCB Thickness: The board behind the LEDs matters too. Thicker boards make the strip less bendy.
For most projects, a soft bend with a big curve works best. But for tight curves, use strips with fewer LEDs and a thinner board. This keeps the lights safe.
Preparing for the Perfect Bend
Got the right LED neon strip? Now set up your workspace. And grab the tools you need. Here’s a list:
Tools and Materials
- Heat Gun or Hair Dryer: Warms the neon to make it bendy without breaking.
- Ruler or Measuring Tape: Helps you keep the curve even.
- Mounting Clips or Adhesive: Holds the neon in place after bending.
- Cutting Tools: Sharp scissors or a knife to trim the neon if needed.
Safety First
Before you start, make sure the LED neon strip is unplugged. Turn off the power. This stops any electrical accidents. Also, wear gloves when using the heat gun. It keeps you safe from burns.
Techniques for Bending LED Neon Lights
Ready to bend your LED neon strip? Follow these steps for smooth, nice curves:
1. Heat the Neon Light
To make bending easier, warm the neon strip with a heat gun or hair dryer. The heat softens it. So, it bends without breaking. Don’t heat too much. A few seconds is enough. Test it by bending gently. If it’s still stiff, add a little more heat.
For example, if you’re making a curvy sign, heat a small section at a time. It helps you shape it just right.
2. Gently Bend the Neon Strip
Start bending slowly. Begin with a small curve. Then make it bigger if you need to. Don’t make sharp bends. That can break the wires inside. For tight corners, heat the neon again. Shape it carefully around the edge.
Say you’re lighting a round table. Bend the strip slowly to follow the curve. Go easy to keep it safe.
3. Secure the Neon Strip
Once you’ve got the shape you want, use clips or adhesive to hold it. If it’s on a curvy surface, make sure the adhesive is strong. You don’t want it peeling off later. A good adhesive like 3M VHB works well for this.
4. Test the Neon Lights
After fixing the strip, plug it in. Test it to see if it works. Look for flickering or dim spots. Those could mean the bend went wrong. If you see problems, adjust the curve gently. Or check the connections.
Common Mistakes to Avoid
Even with the right steps, you can mess up. Here are some things to watch out for:
Overbending
Bending too hard is a big mistake. LED neon lights have a limit on how tight they can curve. Going past this can break the wires. Always check RAYMATES’ guide for the right bend radius.
Mismatched Power Supplies
Make sure the power supply fits the LED neon strip’s needs. Wrong power can make lights flicker. Or not work at all. Pick a good power source that matches your strip.
Poor Adhesion
Using bad adhesive can make the strip fall off. Especially on walls or vertical spots. Use strong adhesive made for LED neon lights.
Conclusion
Bending LED neon lights is a fun way to make unique lighting for projects. With the right tools and steps, you can make nice curves. They add style and work well in any space. Follow this guide, and you’ll bend LED neon lights with confidence. Your projects will shine bright and look awesome.
FAQs
Q1. How do I prevent my LED neon lights from breaking while bending?
To prevent damage, heat the neon strip gently before bending. Avoid sharp bends and always follow the manufacturer’s guidelines for the minimum bending radius.
Q2. Can I bend LED neon lights to any angle?
No, LED neon lights have a specific bending radius. Bending beyond this radius can cause internal damage to the strip. Always check the product specifications for the recommended bend radius.
Q3. What tools are best for bending LED neon lights?
The best tools include a heat gun or hair dryer for softening the neon, along with mounting clips or strong adhesive to secure the strip once it’s bent. A ruler or measuring tape will also help you maintain consistent bends.