Introduction
If you’ve ever tried to design lighting around a curved wall, a wave-like ceiling, or even the edge of a bar counter, you probably know the struggle. Ordinary LED strips just don’t cooperate. They either kink, break, or give you shadow lines that ruin the smooth glow. That’s where flexible LED neon strips come in. But even within this category, you’ll often see two terms that confuse buyers: side bend and top bend.
At first glance, they sound like marketing jargon. Yet the difference is more than just words—it’s about how the strip bends, how the light spreads, and ultimately whether your project ends up looking clean and professional or messy and uneven.
In this article, we’ll break down what side bend and top bend LED strips are, where they shine (literally), and how to decide which one is the right fit. Along the way, we’ll add insights from RAYMATES, a manufacturer with over 15 years in the LED business and international projects across retail, hospitality, and architecture.
Understanding Side Bend and Top Bend LED Strips
Side Bend LED Strips
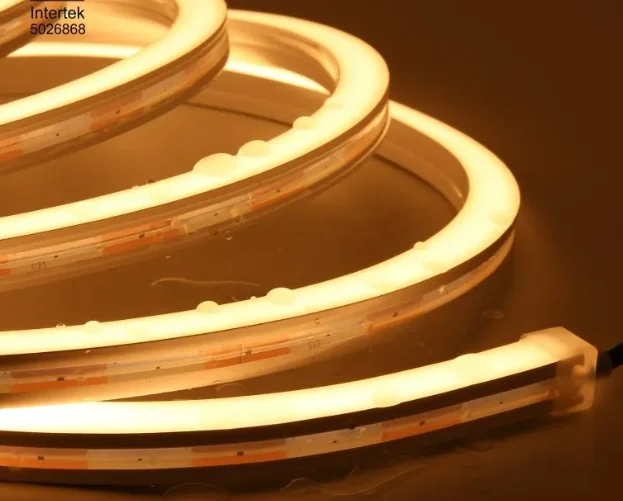
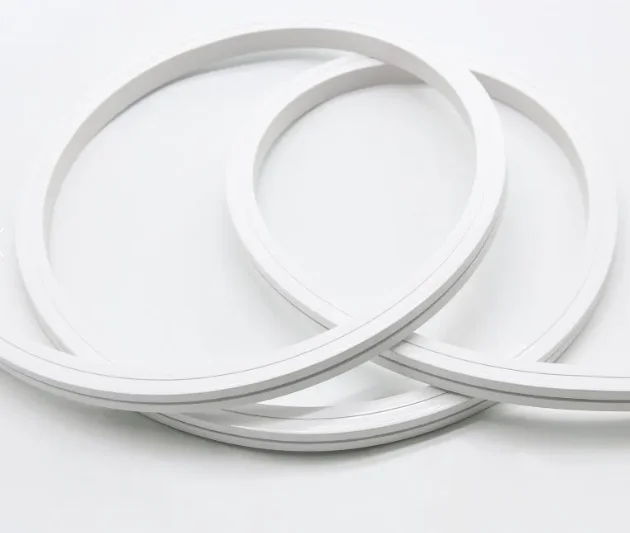
Side bend LED neon strip is designed to bend left and right along its horizontal axis. If you hold a strip flat on a table, you can curve it into a circle or snake it around a column. The PCB (printed circuit board) runs vertically inside, which means the light-emitting surface faces outward while the body twists sideways.
- Applications: Perfect for wrapping around round walls, signage letters, furniture outlines, and indoor decoration like curved staircases. A boutique in Paris, for example, used side bend strips along its oval-shaped shop window to create a smooth, shadow-free glow that drew people in at night.
- Lighting effect: Side bend strips often provide more even diffusion, minimizing dark edges. When designers want a “liquid light” effect without hot spots, side bend is usually the go-to.
A 2023 U.S. Department of Energy report notes that high-density LED strips, often used in side bend designs, achieve up to 90% energy savings compared to traditional incandescent lighting, making them ideal for applications requiring uniform illumination.
Top Bend LED Strips
Top bend strips, on the other hand, flex up and down. Lay one flat and you can bend it into a wave or loop it over a ceiling arch. Here, the PCB is set horizontally, parallel to the light surface, so the bending direction runs vertically.
- Applications: Best for undulating ceilings, layered wall features, or suspended lighting where the curve is vertical rather than horizontal. A hotel lobby project in Dubai used top bend neon to mimic waves on the ceiling—an effect impossible with side bend strips.
- Lighting effect: Because of the vertical bend, top bend strips are easier to install in overhead or hanging scenarios. They also tend to be a bit sturdier in outdoor projects when combined with higher IP ratings like IP67.
Dual Bend Options
There’s also a third category—dual bend or 3D bend. These strips can flex both sideways and upwards. They’re less common and usually more expensive, but for complex architectural shapes or creative art installations, they solve a lot of headaches.
Structural Considerations and Performance Differences
Not all LED neon flex is made equal. This is where experience from companies like RAYMATES comes in. Since 2009, they’ve experimented with different PCB layouts, silicone jackets, and cutting pitches to make strips that last longer and survive real-world installation challenges.
- Minimum bend radius: Side bend and top bend strips usually have a minimum curve radius, often around 30–50 mm depending on size. Bend tighter than that, and you risk damaging the PCB. RAYMATES has a testing process for each batch to confirm that the promised bend radius is realistic—not just marketing talk.
- Lighting uniformity: A well-designed side bend strip will avoid shadow lines even at the joints. Low-quality versions often show visible dim spots every few centimeters, especially when installed in signage. RAYMATES uses high-density LEDs (CRI ≥ 90) to keep the glow smooth.
- Durability: Outdoor projects need IP65 or IP67 protection. Here, top bend designs often take the lead because the vertical layout allows for thicker silicone encasing. Side bend is still usable outdoors, but installers often add extra sealing at the joints.
One small but important detail: transport. Ultra-thin FPC substrates can deform if folded during shipping. RAYMATES once had a case where a batch arrived in South America with creases from poor handling. Since then, they switched to reinforced reels and better anti-static bags to protect the strips. It’s a reminder that product design is only half the story—logistics matter too.
Practical Installation Tips
Even with the right product, things can go wrong if installers cut corners.
- Follow the spec sheet: Every manufacturer (at least the serious ones) lists the minimum bending radius. Ignore it and you void the warranty. Some installers still think “a little extra bend won’t hurt”—until the strip flickers a week later.
- Support the strip: Neon flex should be supported along its length, not just at the ends. Use aluminum channels or mounting clips. A client in Germany once tried double-sided tape on a curved bar counter; within a month the strips peeled off due to heat and tension. Switching to 3M VHB adhesive plus clips solved the problem.
- Mind the coiling: During transport, strips are coiled in a certain direction. Don’t uncoil and then force them the other way immediately—it stresses the PCB. Give them time to relax flat before installing.
- Cutting and joining: Side bend and top bend strips are cuttable at marked points, usually every 25–50 mm. RAYMATES designs many of their products with “one-light, one-cut” flexibility, making it easier to fit irregular spaces like a marble bar counter.
How to Choose the Right Bend Type for Your Project
So, side bend or top bend—how do you decide?
- Look at the geometry: If your project involves horizontal curves (logos, wall edges, columns), side bend is more natural. For vertical curves (ceilings, suspended forms), top bend wins.
- Think about the effect: Side bend gives a clean, continuous glow without shadowing—great for retail or hospitality. Top bend is more practical for installations where gravity and outdoor durability are factors.
- Check the specs: CRI, voltage (RAYMATES offers everything from 5V to 220V), waterproof rating, and board width matter just as much as bend type. A side bend strip with poor diffusion won’t look better than a top bend with higher LED density.
- Budget and availability: Dual bend strips are tempting, but they come at a premium. Unless your design truly needs multi-axis flexibility, most projects succeed with either side or top bend.
Conclusion
There isn’t a single “better” option between side bend and top bend LED strips. The right choice depends on your project’s curves, installation site, and the look you’re chasing. Side bend works wonders on rounded walls and signage, while top bend is unbeatable for ceilings and vertical effects.
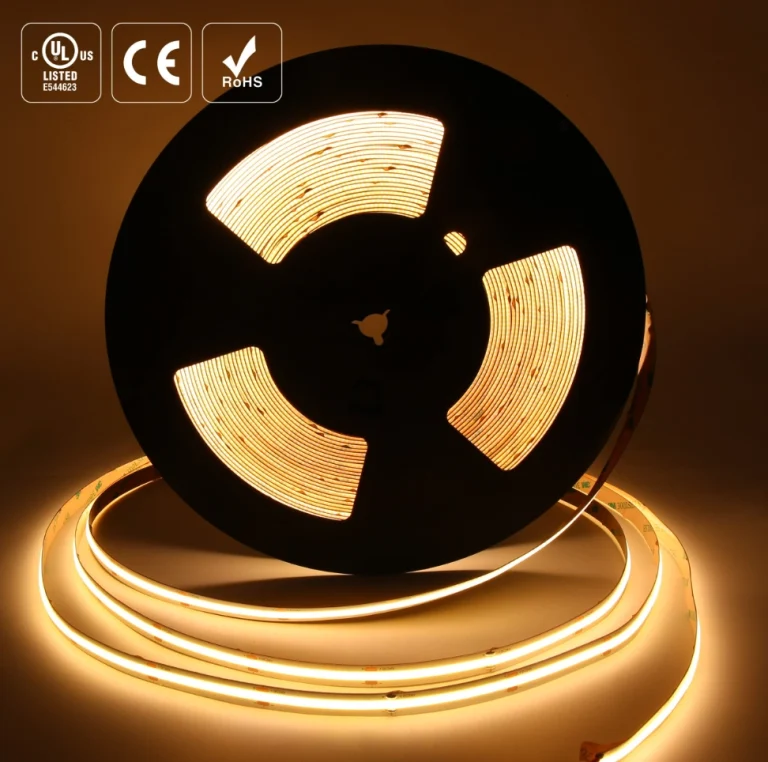
For professional installers and lighting designers, the key is not just picking a type but choosing a reliable supplier. RAYMATES, with its UL, CE, ETL, and TUV certified products, plus years of experience supplying to over 30 countries, has proven that quality materials and careful engineering save time, money, and frustration in the long run.
And honestly, sometimes the choice also comes down to creativity. We’ve seen clients combine both types in the same project—a nightclub in Spain used side bend around the bar counter and top bend across the ceiling waves, creating a stunning layered effect. That’s the fun of working with flexible LED neon: once you know the basics, the design possibilities open wide.
FAQs
Q1: Can side bend and top bend strips be mixed in one project?
Yes. Many designers actually combine them to handle different curves. Just make sure the power supply and controller are compatible if you want them to run together.
Q2: What is the typical lifespan of RAYMATES side bend or top bend strips?
With high-quality LEDs and proper installation, you can expect over 50,000 hours (that’s several years of continuous use). Some projects installed in 2015 are still running today with only minor lumen depreciation.
Q3: Are these strips difficult to install for beginners?
Not really. The flexible design is cuttable, and with proper mounting clips or aluminum channels, most DIYers can handle small projects. For larger or commercial installations, though, working with a professional installer is strongly recommended.