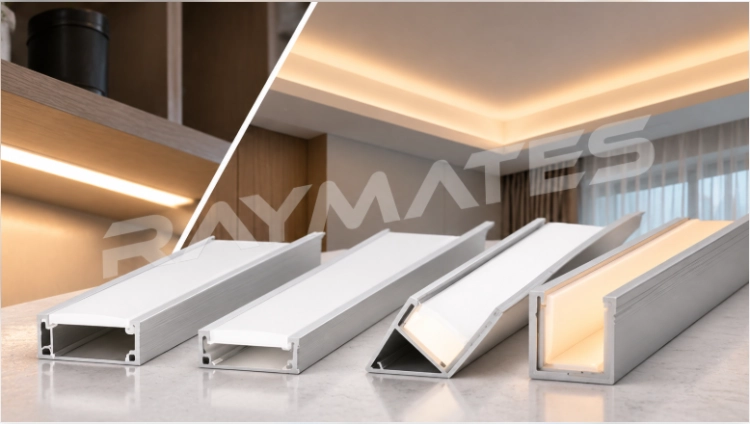
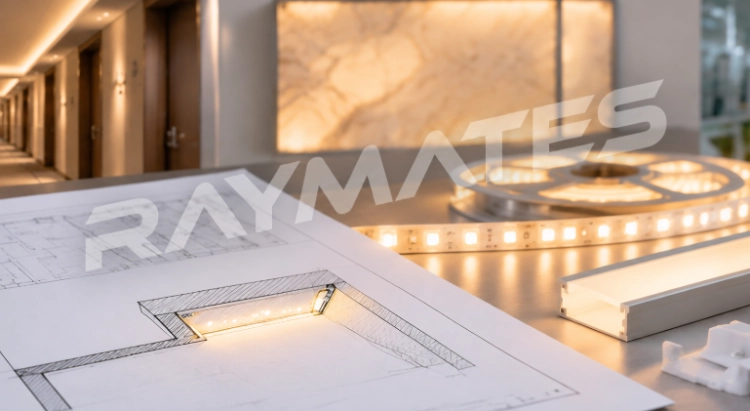
A joinery drawing marked “LED strip aluminum channel” is not ready for the workshop. Which section is going into the groove? How is its end finished? Until those details are settled, the person cutting the timber has to guess. Choose a sample of the complete assembly while the furniture is still on the drawing board.
Put the proposed section beside the joinery drawing. Follow it all the way to the cable exit, where a lead and end cap take up space beyond the bare extrusion. This is a better time to find a clash than after a workshop has cut the shelves. Keep the cover and fixing clips in the drawing as well.
Choose the mounting form before choosing the finish
Recessed channels for built-in cabinets
Find the portion of the recessed profile that enters the groove. A flange above it may be wider, covering the cut edge. It is the lower portion that matters to the workshop when setting up the groove; measuring the visible face will give a different dimension. Include the section drawing with the machining detail.
An end cap may also affect the finished length. Write down whether the ordered length means bare aluminum or the assembly with its caps fitted. Then compare that dimension with the opening between the cabinet sides. Mark the route taken by the lead so it does not get squeezed into whatever space remains.
Leave the hinges and shelf supports in place for the sample check. Try removing the cover, not just fitting it. If a hinge gets in the way, change the position before the rest of the wardrobes are made.
Surface-mounted channels for finished shelves
Routing may be awkward on a finished shelf. Try a surface-mounted piece against the underside instead, with the lead in place. Look from the doorway as well as close up: the visible edge and cable entry will remain part of the finished cabinet.
Take the sample off its clips with the shelf in position. Some fixing arrangements need space to the side; others need access below. A cabinet wall may prevent the movement shown in the instructions. Resolve that with the selected mounting hardware instead of assuming the installer can pull the extrusion loose later.
Record the fixing positions on the office shelving detail. Each bay can then be made to the same setback. Tell the supplier what the clips will be attached to. The fixings used in timber cannot simply be assumed suitable for a different substrate elsewhere in the project.
Angled channels where the light needs direction
A corner profile holds the strip at an angle. Try it below the proposed shelf, with the cover fitted, and stand where the work surface will be used. Can you see the source? Does the light reach far enough back? The shelf depth matters here, so a piece tested on an open bench is only a starting point.
There is a further check beside a glossy splashback: the reflected light line. A small lip may hide the source, but don’t make that lip so close that the cover becomes trapped. At this point it is still possible to change the joinery detail. After the furniture is installed, the same change is much less convenient.
Treat a ceiling cove as a construction detail
Check access before closing the ceiling
Draw the LED strip channel for cove lighting into the ceiling section, brackets included. Trace the view from the corridor and any upper landing. If the fitting can be seen from above, decide whether that is acceptable before ordering the section.
Allowing space for a hand isn’t quite the same as allowing space for maintenance. A long cover needs somewhere to go as it comes out. Build a short cove sample with the intended lip and try the operation. This is particularly worthwhile before repeating the detail along several floors of hotel corridors.
Put the driver and its connections on the ceiling drawing. Where they need an access panel, get that panel agreed before the opening is closed. Keep the marked drawing for the people who will maintain the installation.
Plan joints where they can be installed
Lay out the extrusion lengths along the architectural cove. Mark their joints, then add the strip connections and feed positions. A fixing bracket may need to move clear of a joint. A strip connector may create a dark gap. Check each against the intended view and the assembly instructions before releasing the cutting schedule.
Ask the profile supplier how to join and fix the selected section, including any allowance for movement. A gap copied from another installation may be wrong for this extrusion and substrate. Keep the agreed joint detail with the sample so it can be checked when the first lengths arrive.
Check the strip and connection inside the channel
Look inside the channel next. There must be room for the PCB to sit correctly, but also for the connector, which can be larger. Use the version of the strip that will actually be ordered. If it has a waterproof sleeve, testing a bare board leaves the sleeve’s extra size out of the check.
Channels, clips, connectors and end caps are available from Raymates alongside its strips. The Aluminum Profile page is a starting point for a channel inquiry. A section of the cabinet or ceiling is useful when discussing the order: it shows the space available and where the proposed fixing can go. Request a drawing of the offered profile before machining the joinery.
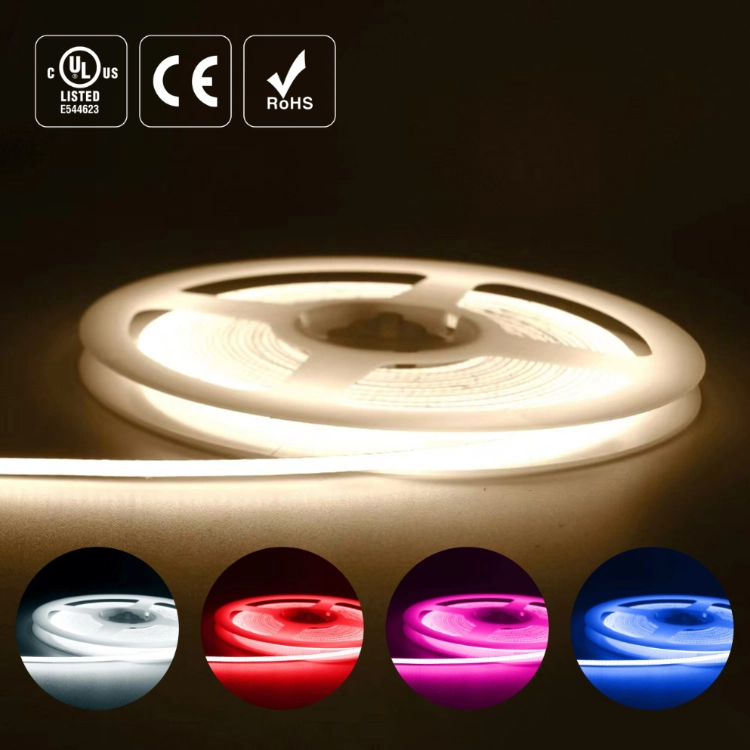
The Mini Size COB Strip is worth checking where the furniture groove leaves little width. Request the drawing for the particular version, including its connection. The COB LED strip may fit while a connector sits outside the recess; finding that now gives the workshop a chance to provide a cable pocket.
For a wholesale LED strip for projects inquiry, pair the strip model with a channel reference. List the cap, clip and cover beside it. A price per metre is hard to compare if one quotation supplies those parts and the other leaves them out.
Approve the cover with the finished assembly
Compare appearance and light on the surface
Stand where the shelf will be used and look at it with the light switched on. The cover may look smooth while the objects below remain poorly lit. Diffusers scatter light, which can help hide individual sources. The appearance of the cover and the illumination beneath it still need separate attention during the trial.
Use one strip and driver for a cover comparison, leaving the dimming setting alone. Put representative contents on the cabinet shelves, since these will cast shadows. For the cove, paint the sample surface with the specified finish. Otherwise the purchaser is comparing a change in paint or contents at the same time as a change in cover.
Check whether the cover can be replaced
The approved cover needs its own part reference. A later replacement may look right in a photograph yet fail to clip into the profile. Keep a short piece with the approval records if possible. That gives a new purchasing contact something to compare when the original fit-out team is no longer involved.
Keep the room-detail number with the assembly reference. Someone ordering a replacement for a wardrobe can then find its cover code without having to compare it with every profile used elsewhere in the building.
Write a channel schedule that the workshop can use
Start the cutting list from the room drawings. A wardrobe shelf and a corridor cove each need a detail reference with a finished length and quantity against it. Add the mounting form, finish and strip model. The attached section should show the cable exit within the surrounding joinery or ceiling, so the workshop can see what the ordered piece is meant to fit.
Read the quotation once more for work that remains on site. It may allow for loose end caps, unconnected leads or covers in stock lengths. Those are different deliveries from a set of pieces ready to install. Agree the remaining assembly work and ask for packing labels that match the room-detail references on the drawings.
Project and installation drawings form part of the customized support available from Raymates. A marked-up joinery detail gives that discussion a practical starting point. Once the parts are chosen, the quotation should identify which operations take place before shipment and which are left to the installer. Compare those arrangements when assessing the price.
Assemble a sample for each detail before releasing the full quantity. Keep its component references with the signed drawing. If another cover or fixing is proposed later, compare it with that assembly. The purchase order should say which changes require a new sample; cable exit and removal access are worth naming explicitly.
Questions that come up before ordering
Is a recessed profile always better for cabinets?
No. Check the proposed groove with the furniture maker first. On a thin or already finished shelf, a surface-mounted sample may be easier to fit and remove.
Can the same profile be used for shelves and coves?
Sometimes. Build a sample in each location before combining the order. A successful cabinet fitting does not show how the same piece will look or come out of the ceiling cove.
Does an aluminum channel make a strip waterproof?
No. Water can reach an assembly through its ends or cable entries unless these have suitable protection. Tell the supplier where it will be installed and request the sealing details for that assembly.