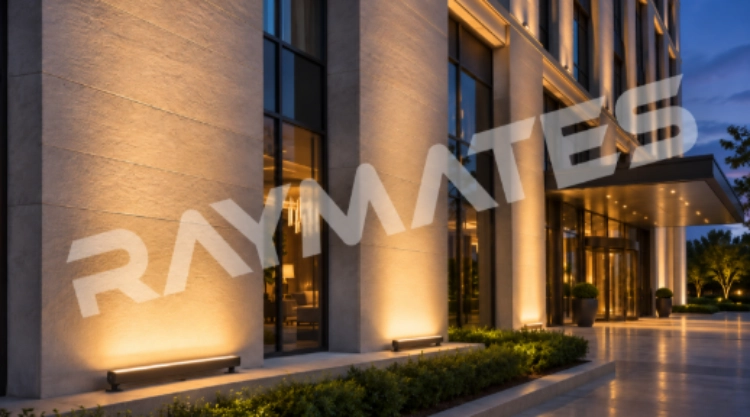
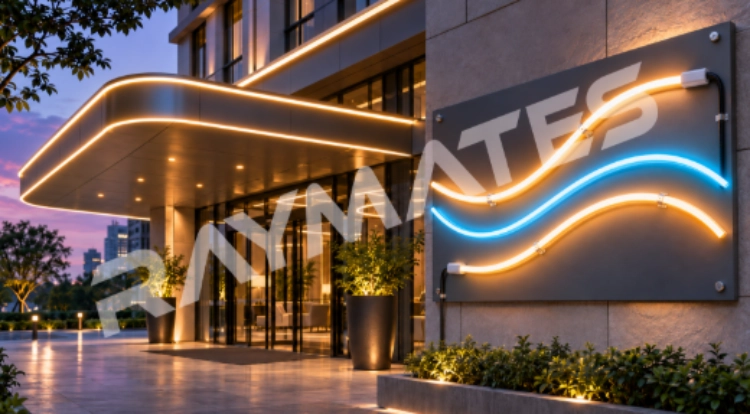
A narrow beam can leave a bright stripe on a hotel wall. A wide beam can miss the wall altogether and light the windows beside it. Both might look acceptable in a small product photograph. On a building, there is far more to see: the parapet above the fitting, the glazing next to it, and the people walking towards the entrance.
Choosing an exterior wall washer starts with that building geometry. Keep the section drawing beside the quotations. The LED wall washer beam angle helps explain an optic, while a trial after dark shows what the proposed assembly does from its actual mounting position. That is the version to approve for the order.
Read the beam-angle label before comparing quotations
A beam-angle figure describes an intensity boundary around the main beam. It is not the edge of all visible light. In the IES definition of beam angle, the boundary occurs where intensity falls to half the maximum in the measurement plane. Light can continue beyond that boundary.
Beside an office window, the light outside that boundary can matter quite a lot. It may reach an occupied room even though the main beam falls on the facade panel. The supplier needs to provide the distribution and show its orientation. A narrow angle printed in a quotation does not settle the spill-light question.
Two numbers need two directions
An optic marked with two angles has different spreads in two planes. Before comparing it with another linear LED wall washer, identify which plane runs along the fixture and which runs across it. The smaller number is of little use if nobody knows how the fixture will be turned on site.
Have the supplier mark the emitting face and beam directions on the installation drawing. Keep that drawing with the sample. The delivered fitting needs an identifiable code. With that code, the contractor can find its position and orientation on the drawing without having to reconstruct an earlier email conversation.
Beam angle and aiming angle are different
The bracket changes where the fitting points. Its optic still has the same distribution. Try the permitted adjustment range in the sample area. At one position the edge may look right, while at another the upper wall receives more light. The choice needs to be judged across the illuminated surface, not just at the edge that caused concern.
Put the bracket setting on the trial drawing. If another sample arrives, use that setting for the first comparison. Its result can then be judged against the first fitting without a different aim confusing the comparison. Check the fixing access too. The installer must still be able to tighten the bracket with the facade trim in place.
Give each building surface its own optical requirement
Some areas on the architect’s elevation may be intended to remain dark. Mark them before discussing an optic. Give the entrance canopy its own entry in the schedule if its lighting requirement differs from the stone piers. A single order can contain several configurations, each with a drawing reference and a quantity.
Tall piers and narrow facade panels
From the foot of a pier, it can be difficult to judge the upper surface properly. Step back to the agreed viewing position. Is the base dominating the view, or does the light reach the full area intended? Check the adjacent glazing from there as well; it may receive some light farther up, despite being clear of the fitting at ground level.
Take a section through any ledge between the fitting and the surface above. It may block the light path from the permitted position. That is a mounting restriction for the lighting designer to resolve. Ordering another optic before checking the section can leave the obstruction exactly where it was.
With a low profile LED wall washer inquiry, include the space needed for its bracket and the cable leaving it. The housing might fit neatly in a recess yet leave no room to turn or connect the fitting. Check that assembly before accepting the dimensional drawing, then assess the light from the position it permits.
Broad walls and projecting details
Stand back far enough to see the whole wall during the trial. There may be a repeating pattern where the beams meet. Look more closely around the window surrounds, where projecting material can interrupt the light. If an obstruction is responsible for a dark patch, adding output from the same position still leaves it in the way.
A piece of the specified cladding is useful in the trial. On rough masonry, small raised areas cast shadows across the surface. A smooth white board will not show that texture. Keep the board if it helps compare the samples, then repeat the check against the cladding that will actually be installed.
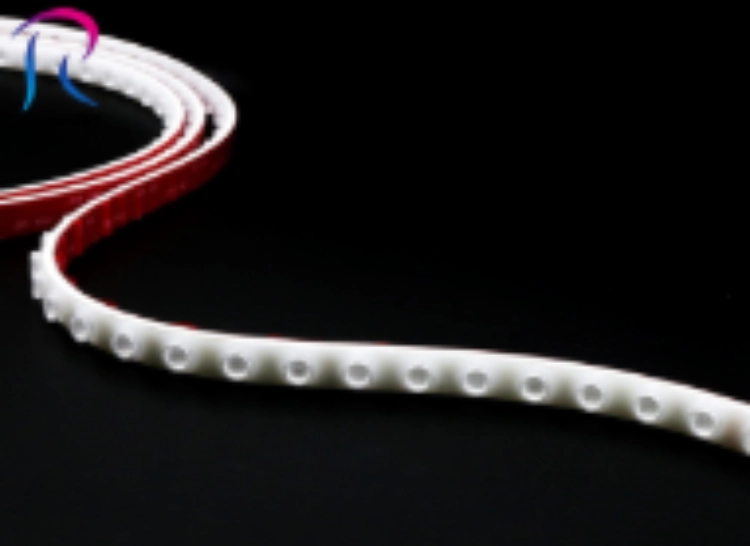
For a curved architectural feature, the Flexible Wall Washer is a Raymates product to investigate. Confirm the permitted bending arrangement and the available optics for the actual configuration. Include a view of the curve in the inquiry. Ask the supplier to mark the emitting face at several points, so the drawing shows where the light points as the product follows the bend.
Ask LED wall washer light suppliers for comparable evidence
Two offers carrying the same angle can still produce different results. The intensity distribution, output and physical arrangement may differ. Request the photometric file for the exact offered configuration, with its power, colour and optic identified. If a file represents another version, ask what changed before using it in a calculation.
A file for a similar housing can produce a convincing simulation of the wrong fitting. Keep its identity visible in the calculation package. Missing data needs a note against the proposed product. The designer and supplier can then agree what a physical sample must demonstrate before that product is accepted for the building.
For tight architectural details, the Mini Wall Washer provides another product starting point. Request its dimensional drawing and the specification for the proposed version. Put the required lighting area beside those dimensions when asking for a sample. There is no benefit in approving the housing for the ledge and discovering later that the light does not reach the required surface.
Building exterior lighting is an application for the wall washer range at Raymates. Project and installation drawings are available as part of its engineering support. The team can discuss an application by email or video meeting. Include the annotated building section in that discussion, with any mounting restrictions clearly marked.
Make the evening mock-up answer the purchasing questions
Choose the sample area with the project designer. A plain section is convenient to set up, but it may tell you very little about the window return further along the building. Where the lighting passes a parapet or changes from stone to cladding, try to include those details too.
Keep comparisons fair
Mount the sample where the finished fitting would go and set it to the proposed operating level. Put its product code and optic on the trial sheet, along with the bracket position. For a comparison, use the same viewing locations. Avoid judging one sample under construction floodlights and the other after those lights have been switched off.
Comparison photographs need consistent camera settings. With automatic exposure, the camera may compensate for a brighter fitting and make the pictures look more alike than the installations. Take a walk along the entrance route too. From there, a visitor may see the source that was hidden in the front-on photograph.
Arrange access to a relevant window if possible. Someone inside the building sees the fitting from a different height and angle from the person on the pavement. Record that view on the trial sheet. If a section has failed electrically, repair it before comparing optics; otherwise the missing light will distort the review.
Write the approval so another person can repeat it
Name the accepted sample, operating setting and viewing locations. Attach a marked drawing showing its position. Record any remaining conditions, such as a shield to be fitted or a bracket detail still awaiting approval. A photograph marked only “approved” leaves too much room for disagreement later.
When ordering an outdoor LED wall washer light bar for repeated facade bays, tie the purchase specification to that sample. A substitute with a different optic will need another review. So will a different housing if it changes the mounting position. Write these conditions into the order even when the alternative carries the same wattage.
Keep light within the project boundary
What happens to the facade lighting after the entrance closes? Agree the answer with the building team while the sample is on site. If a lower setting is wanted, try it during that visit and record it. The supplier will need the control requirements when preparing the offer, so that the proposed fittings can operate as intended.
Use the responsible outdoor lighting principles during that discussion. An unnecessary illuminated area can be removed from the plan. Elsewhere, a shield or a downward-facing mounting position may help keep light within the intended area. Try the proposed arrangement on the building and check both the target surface and the surroundings.
Attach the marked facade sections to the quotation request. For each area, give the quantity and the available mounting zone, then add the control method and exposure conditions. After approval, put the sample reference on the order and installation schedule. The contractor receiving the fittings will then have the same reference that was used to make the purchasing decision.