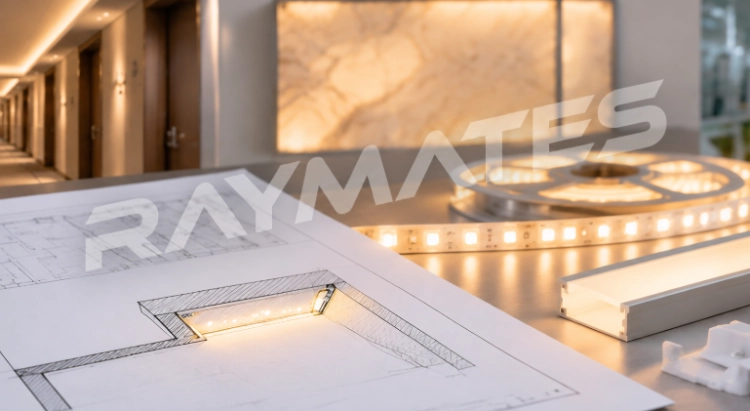
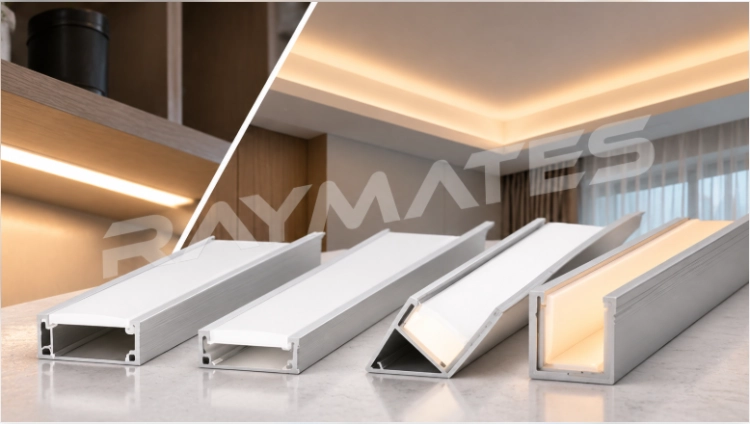
Before sending a lighting drawing for a quotation, look for the cable exits. Are they marked? Can a connector pass through the opening? These are small details on a hotel fit-out, yet they belong in the product brief for ODM LED lighting projects. Leaving them to the installer can mean opening up a finished assembly.
Start with a marked drawing and an application brief. Agree what the manufacturer will design, approve a representative assembly, then release a numbered specification for production. Keep later changes tied to that specification. On an order with different lengths, put the reference on the schedule so that the purchaser can tell which sample belongs to which item.
Turn the architectural drawing into a product brief
Mark the details that change the lighting assembly
For a hotel corridor, send the ceiling section with the reflected ceiling plan. The plan shows the route. In the section, the supplier can see the space left for the strip and channel. Add the available mounting width, the route to the driver and the point where the cable leaves each section.
An office reception wall needs a different brief. For backlit stone, include the panel dimensions and arrange a sample of the stone for the lighting trial. A photograph of a bright panel won’t establish the spacing or output required behind another material. The finish belongs in the sample review, alongside the light source.
Some dimensions may still be provisional when the quote is needed. Mark them that way. If the ceiling contractor hasn’t settled a detail, ask the factory to quote its proposed arrangement and leave that item open for confirmation. Put the drawing number and revision beside the dimensions sent for quotation.
Give each installation type its own reference
For a project with corridor coves, cabinet lighting and entrance signage, create separate schedule entries. Each needs its own product reference, voltage, colour, control requirement and quantity. Note whether the quantity means complete assemblies, individual lengths or metres on reels.
Check what is included in a wholesale LED strip for projects quotation. Does the quoted metre arrive on a reel, or has it been cut and fitted with a lead? Who supplies the labels? Ask for those operations to appear as identifiable parts of the offer, even when the total price is given per metre.
The Raymates product range includes LED and COB strips, neon, LED sheets and accessories. Buyers can also request OEM or ODM work. Project and installation drawings are available through its engineering support. Use that discussion to settle the interfaces between the lighting, joinery and electrical installation.
Agree what the ODM supplier will design
ODM includes design and production support. Write down which part needs designing. Changing a lead may leave most of the existing product untouched; a new housing brings other work into the quotation. A supplier needs to know which job it is being asked to price before committing to a sample date.
Begin with a suitable existing product where possible
It is worth taking the drawing to the existing range first. The Mini Size COB Strip, for example, gives a buyer something to compare with a narrow furniture groove. Include the connector and lead in that comparison. A board that fits does not prove the completed assembly will fit.
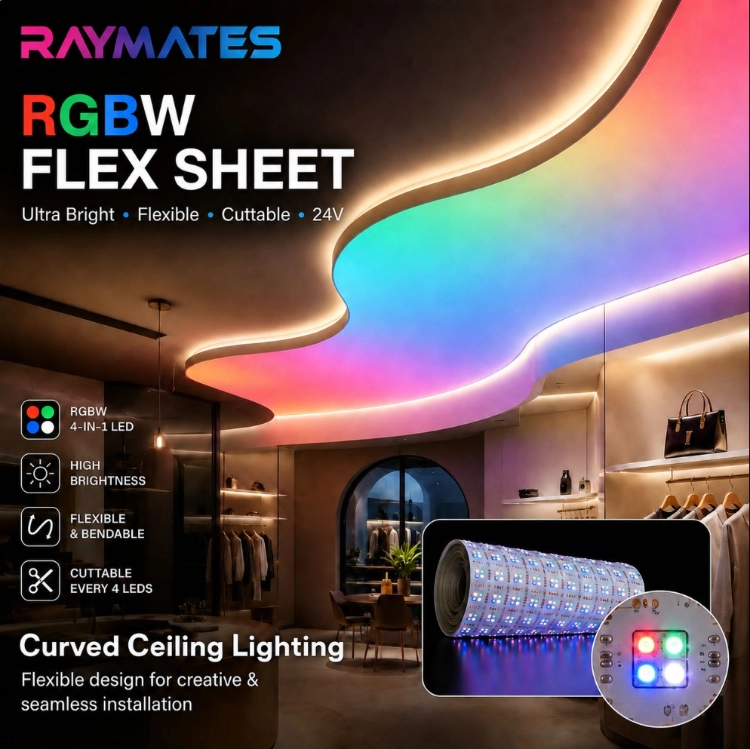
For a backlit reception feature, evaluate the Matrix LED Sheet against the panel geometry. Show where the panel joins are and how the installer will reach the connections behind it. There may be several sheets under one surface, rather than one strip following an edge.
Raymates can customize power. There are also different board widths and voltages in its range, though the available combination depends on the product. With the proposed model in front of you, go through each requested change with the supplier. Which version can be sampled now? Which still needs development?
Settle tooling, drawings and ownership before spending
For tooling, get past the single price on the quote. What will that payment buy, and where will the tool be kept when this order is finished? Agree ownership and permitted use of the design separately. The term ODM alone does not settle those commercial questions.
Who signs the final approval? On a fit-out, comments may arrive from the architect, electrical designer and purchaser at different times. Give the supplier one route for receiving the combined decision so that a comment on appearance is not mistaken for approval to manufacture.
Approve a sample that answers the difficult questions
A short sample on a desk can confirm colour and general construction. It cannot establish whether a complete cove section can be installed through the available opening. Choose the sample length and mounting detail around the uncertainty you need to resolve.
Include the awkward end of the run
For cabinet lighting, include the cable exit, connector and end cap. Fit them into the intended recess. For a ceiling cove, check a corner or an access point rather than approving only a straight open section. A sign sample should include the specified bend and mounting method.
Keep photographs of the assembly with the drawing revision used to build it. Record any deviations that remain acceptable. If a sample lead is temporarily longer than the production lead, write that down; otherwise the temporary detail may become the only physical reference available to the factory.
The sample decision should say what was accepted and what still needs attention. “Looks fine” may be enough for a casual colour discussion, but it is a weak instruction for a repeated lighting assembly.
Keep the approval tied to one configuration
Record the strip or module, driver, controller, channel and connection arrangement used in the sample. A different controller can change the dimming behaviour. A different cover can change the appearance. If the electrical contractor supplies the driver, put its model beside the strip reference. Then the sample can be rebuilt with the same parts if a question comes up later.
The ISO 10005 guidance on quality plans covers preparing and reviewing a plan, as well as its acceptance and revision. Keep the project’s plan close to the work: name the drawing, the sample and the person who will approve them. A general factory checklist won’t tell an installer which version of a cabinet light was ordered.
Release production without losing the approved details
Put a revision on the manufacturing package
Before release, collect the approved drawing, product schedule, sample reference, packaging instructions and order quantities. Make the revision visible on each relevant document. Keep old drawings in the history, marked as superseded. They should no longer sit beside the current instructions as if either version could be used.
Consider a late request to move the cable exit to the other end of a cabinet light. Which cabinets does it affect? Have any leads already been attached? Send the marked change to the supplier and wait for a reply about the work in progress. The price or dispatch date may need revisiting. Until that reply arrives, the old delivery promise doesn’t establish that the revised order can leave on time.
Does the changed part need to come back for approval? Check with the engineer responsible for it. If the lead has moved, the end sealing deserves another look. If the cover has changed, compare the lit sample. Record the buyer’s decision with the revision, rather than leaving approval to be inferred from an email exchange.
Match packing to the installation sequence
Imagine the installer opening a carton on a hotel floor. Several lengths look much the same. A label carrying the room group and schedule reference lets that person find the intended position before unpacking every piece. Agree the labels with the factory, and use those references on the packing list. Spares need identification as well.
Raymates offers customized products and installation guidance, including video or online support. Tell the supplier what the contractor will need on site. An assembly drawing belongs with the installation instructions; the purchaser may want cartons listed by floor or delivery zone. Sort this out while the packing instructions can still be changed.
Send an inquiry that can become a production order
An ODM LED lighting inquiry should include the current drawings, installation conditions, intended effect, electrical requirements, quantity and destination. Add the target delivery sequence and distinguish fixed requirements from options the manufacturer can propose. When approaching a waterproof LED strip manufacturer for an exterior detail, show the connections too. The strip may be sheltered while a cable joint sits where water can reach it.
Read the quotation against that brief. Find the development and sample charges, then check the preparation included in the product price. Leave unanswered points on the correspondence until someone resolves them. Once the drawings and sample agree, the purchase order can identify the configuration by reference instead of attempting to describe it all again.
Can mass production begin before every site dimension is confirmed?
Only release the items whose requirements are settled. Leave the unresolved areas out of that release and ask how a later instruction would affect their delivery. Recheck the final schedule: a provisional length can easily survive in a copied row after the drawing has changed.
Does ODM mean a completely new product is necessary?
No. An existing platform may suit the job with agreed changes. Have the supplier point out the new parts on the proposal, including any tooling or sample work attached to them. That makes the development charge easier to assess.