LED strips may stop responding after a power interruption, controller replacement, remote change, or wiring adjustment. A Reset LED Strip procedure may clear a temporary control fault, but it cannot repair damaged copper tracks, correct the wrong voltage, or restore a loose connector.
Raymates manufactures COB strips, high-voltage strips, drivers, controllers, connectors, and installation accessories. Troubleshooting starts by treating the strip, controller, and power source as one system.
Why Do LED Strip Lights Stop Responding?
People searching how to reset LED strip lights usually report no remote response, flashing, wrong colors, or a lost app connection.
| Symptom | First Check | Reset? |
|---|---|---|
| Remote ignored | Battery and pairing | Yes |
| Startup flashing | Driver and controller load | After checks |
| One color missing | Pin order and channel output | Sometimes |
| Whole strip dark | Input power and polarity | After checks |
| One local section dark | Cut point or PCB track | Usually not |
Controller Memory and Pairing Faults
A power cut, remote replacement, app update, or network change may interrupt pairing. If an LED strip remote not working issue began after one of these events, re-pair the devices before replacing the strip. Use the receiver’s own instructions because button sequences differ.
Power, Voltage, and Wiring Mismatches
A 12V strip must use a compatible 12V DC supply and controller; a 24V strip needs the corresponding 24V system. Loose terminals can cause flicker. A multichannel plug may also fit while its pins are misaligned, so check polarity and channel labels.
Heat, Moisture, and Physical Damage
Cracked PCB areas, burned components, oxidized contacts, wet cut ends, or one permanently dark section indicate physical damage. A reset cannot restore a broken circuit. Also inspect sharp bends, blocked heat paths, and unsealed outdoor terminations.
What Should You Check Before You Reset an LED Strip?
Before any Reset LED Strip attempt, record the strip model, voltage, controller model, power per meter, and installed length. This avoids random part substitutions.
Confirm the Strip, Voltage, and Control Method
Identify whether the product is single color, tunable white, RGB, RGBW, addressable, low voltage, or high voltage. A white strip may only need a supply check, while a colorful strip may require pairing or app reconnection.
Inspect the Driver, Connectors, and Polarity
Disconnect mains power before touching terminals. Check the driver input, DC output, connector contact, and polarity. On colorful strips, wrong pin alignment may remove a color channel. If a short test piece works but the full run flickers, loading or voltage drop is more likely.
Separate a Control Fault From a Strip Failure
Test the driver, controller, and a short strip section separately when permitted. If the short section works, inspect total load, cable length, connectors, and feed points. This helps commercial projects replace one failed part instead of removing the full installation.
How Do You Reset LED Strip Lights and Restore Normal Operation?
The exact sequence depends on the controller. Remove power, inspect the connections, restore power, and use the specified pairing or reset procedure.
Resetting a Remote-Controlled or App-Controlled Strip
For a remote system, reseat the battery, disconnect power, restore power, and follow the receiver’s pairing method. Test on/off, brightness, and every color channel. For an app system, confirm the required network before deleting the device, because removal may erase scenes and schedules.
Add a meter and load check before blaming software. Raymates’ white COB model is listed at 10W/m with a 14W/m option. A 5 m run therefore uses 50W or 70W; on 24V, that is about 2.08A or 2.92A. The driver and controller ratings must not be below the calculated load. If input reaches the controller but no output appears after correct pairing, test the controller before replacing the strip.
The Colorful COB Strip fits bars, retail displays, entertainment areas, and decorative interiors. For procurement, specify voltage, controller, control method, connector pinout, and driver as one package.
Power-Cycling a Low-Voltage COB Strip
Disconnect the driver from mains power rather than switching off only through the remote. Check DC polarity and connector contact, reconnect the driver, and test a static mode before returning to scenes.
Raymates’ Hot Selling COB Strip is listed in DC12V and DC24V versions, with 10W/m and 14W/m options, a 180-degree beam angle, CRI above 90, and an 8 mm board. Its cutting unit is 25 mm at 12V and 50 mm at 24V, which matters when replacing a damaged section.
Handling High-Voltage COB Strips Safely
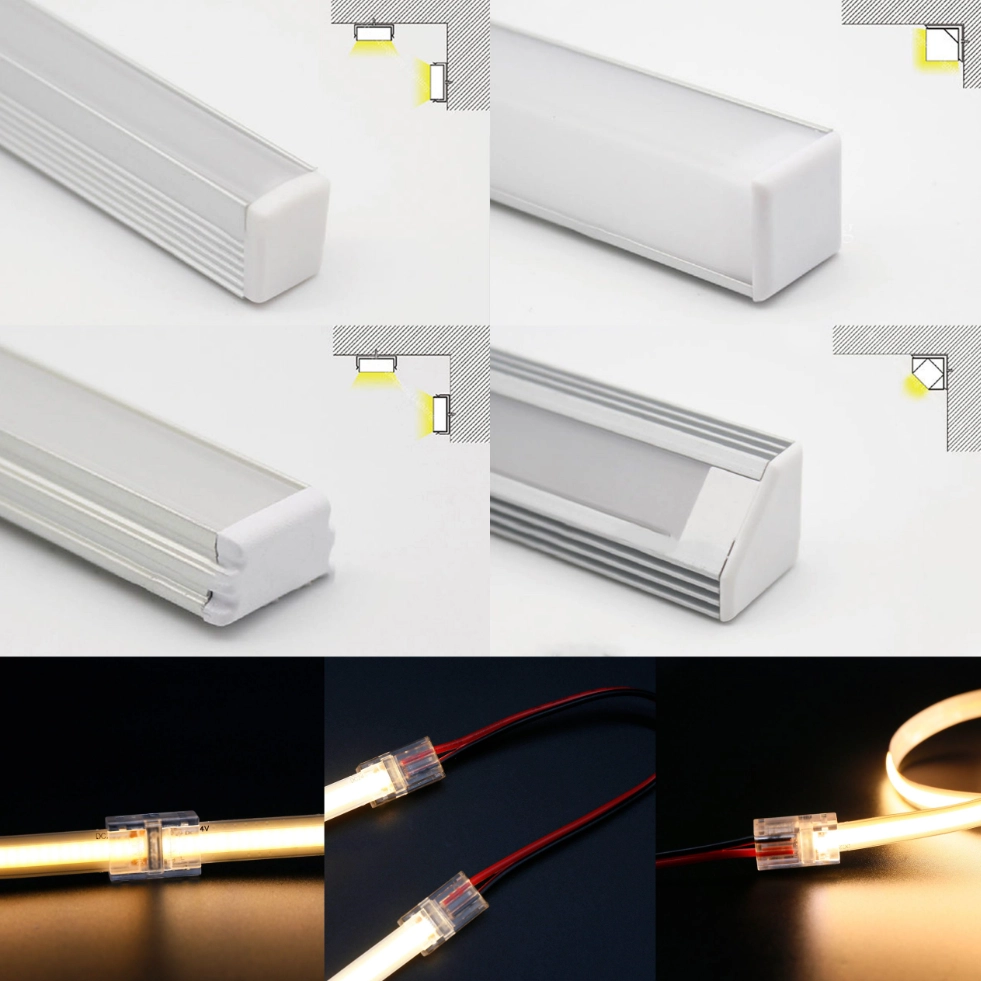
High voltage LED strip troubleshooting starts with complete mains isolation. Never cut, reconnect, or reseal an energized strip. Inspect the plug, dimmer, insulation, end cap, and waterproof termination. Damaged insulation requires a qualified electrician.
The COB High Voltage Strip is listed for AC110V, AC120V, AC220V, and AC230V, with 10W/m and 15W/m options, a 50 m roll, a 166.67 mm cutting unit, and IP67 construction. It suits long façades, warehouses, bridges, and large commercial runs.
What Should You Do If the Reset Does Not Work?
A failed Reset LED Strip attempt should lead to a measured decision, not repeated power cycling.
| Test Result | Likely Fault | Decision |
|---|---|---|
| No rated voltage at driver output | Driver or upstream supply | Check input, then replace the driver if output remains absent |
| Rated voltage at controller input but no output after pairing | Controller or receiver | Test a compatible controller |
| Correct voltage reaches strip but first section stays dark | Connector, cut point, or strip circuit | Repair or replace that section |
| Start is normal but far end dims | Voltage drop | Redesign feeds or cable sizing |
| One color fails along the full run | Channel wiring or controller output | Test channel continuity and controller |
For one isolated failure, replace the confirmed component. If the same fault appears in several zones, review the shared driver model, controller rating, cable layout, installed length, and production batch. Distributors should retain one failed sample, label photos, and measured input and output values.
Test the Power Supply, Controller, and Strip Separately
Measure driver output with the actual load connected. An indicator light does not prove stable output under load. Test a short compatible section, then the full run. For LED strip lights stuck on one color, inspect channel order and controller output first.
Replace Only the Failed or Incompatible Component
Match voltage, current capacity, channel count, protocol, polarity, and load, not just plug shape. Standardizing a controlled set of drivers and controllers across similar projects reduces spare-parts variety and speeds up later fault tracing.
Prevent Repeat Failures Through Correct System Matching
Do not use a driver or controller rated below the calculated strip load. Plan feed points for long low-voltage runs, seal cut ends in damp locations, and use aluminum profiles where mechanical protection or heat transfer is needed.
Which Raymates LED Strip Fits the Replacement or Upgrade?
A replacement should match the lighting task, voltage, run length, cut interval, moisture exposure, and maintenance access.
Hot Selling COB Strip for Continuous White Lighting
Choose Hot Selling COB Strip for cabinets, shelves, and slim profiles requiring continuous white light. Its low-voltage format and defined cutting units suit compact installations. A single-color system also removes extra color channels and pairing steps.
Colorful COB Strip for Dynamic Lighting Scenes
Choose Colorful COB Strip for changing colors or programmed effects. Order the strip, driver, controller, and connectors as a matched set. Keep the controller model in the handover file.
COB High Voltage Strip for Long Lighting Runs
Choose COB High Voltage Strip for long architectural or commercial runs. Confirm drawings, 166.67 mm cut locations, end sealing, dimmer compatibility, and local electrical requirements. Its 50 m roll reduces repeated low-voltage feed points, but the mains-level system needs stricter insulation control.
For a Reset LED Strip problem involving repeated flicker, controller mismatch, long-run dimming, or unclear wiring, send the strip model, voltage, installed length, power per meter, controller label, photos, and wiring diagram through the Raymates contact page. These details support component matching, installation guidance, or an OEM/ODM review.
FAQ
Q: Can I Reset LED Strip lights without a remote?
A: Yes, if the controller supports power cycling or has a pairing or reset button. Disconnect power, inspect the wiring, restore power, and follow the receiver instructions.
Q: Why does my LED strip work after resetting but fail again later?
A: A temporary recovery often points to an unstable driver, loose connector, overloaded controller, heat buildup, or voltage drop. Measure output under load and compare connected wattage with the ratings.
Q: Should I replace the LED strip if the controller reset does not work?
A: Not immediately. If rated voltage reaches the controller but no output leaves it after pairing, test the controller first. If correct voltage reaches the strip but one section stays dark, inspect the connector, cut point, and strip circuit.